 rizens
It has become extremely easy to manage state in React Functional components with Hooks. I’ve previously written of using Custom Hooks as a service and using functional programming inside custom hooks. In this article i’m sharing a fairly simple refactor I made, one that led to a cleaner, reusable and more minimal implementation.
this article was [translated to Chinese] (@infoQ China)
I believe code should be self explanatory and easy to move around and be reused. Sometimes it’s easier to start with a naive approach of using the basics and once you see a recurring pattern - to abstract that away.
I think code abstraction clarifies a lot when applied correctly. Too much abstraction may lead to the opposite effect - hard to realize implementation - or what I like to call: “Bad Poetry”.
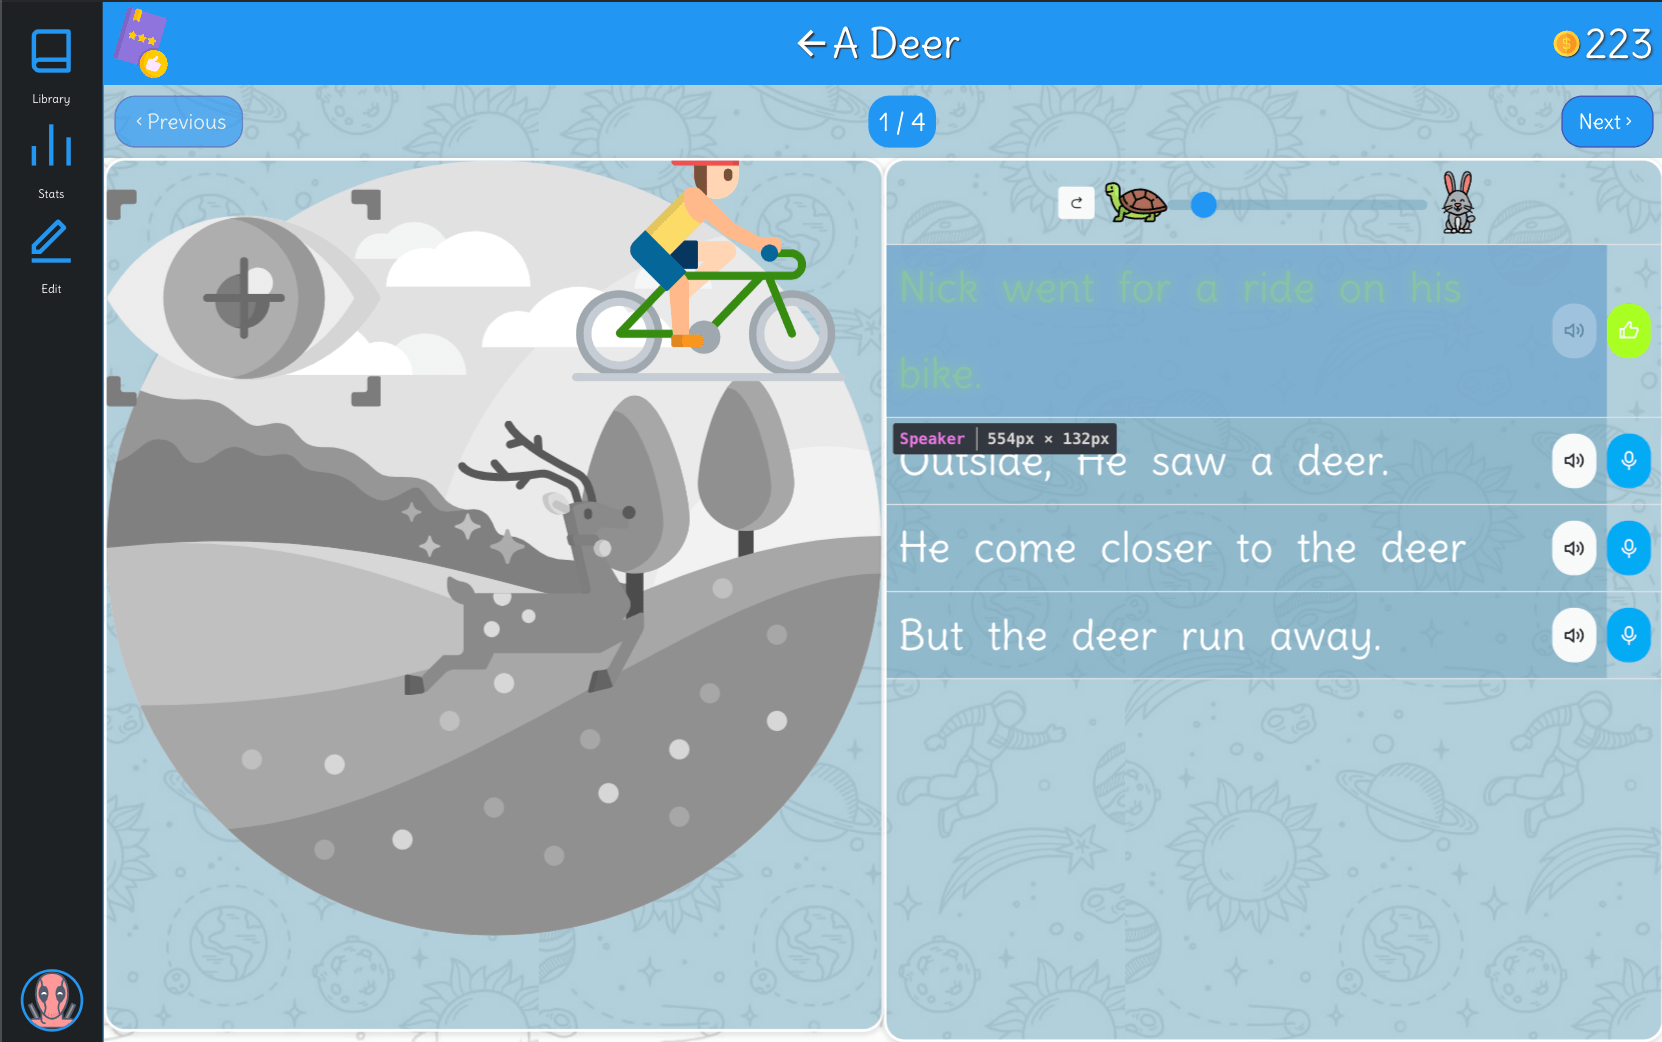
I have created the Speaker() component for ReadM - the free friendly reading web app that motivates kids to practice, learn, read and speak English using real time feedback and providing positive experience (the Speaker component is highlighted with the sentence “Nick went for a ride on his bike”).

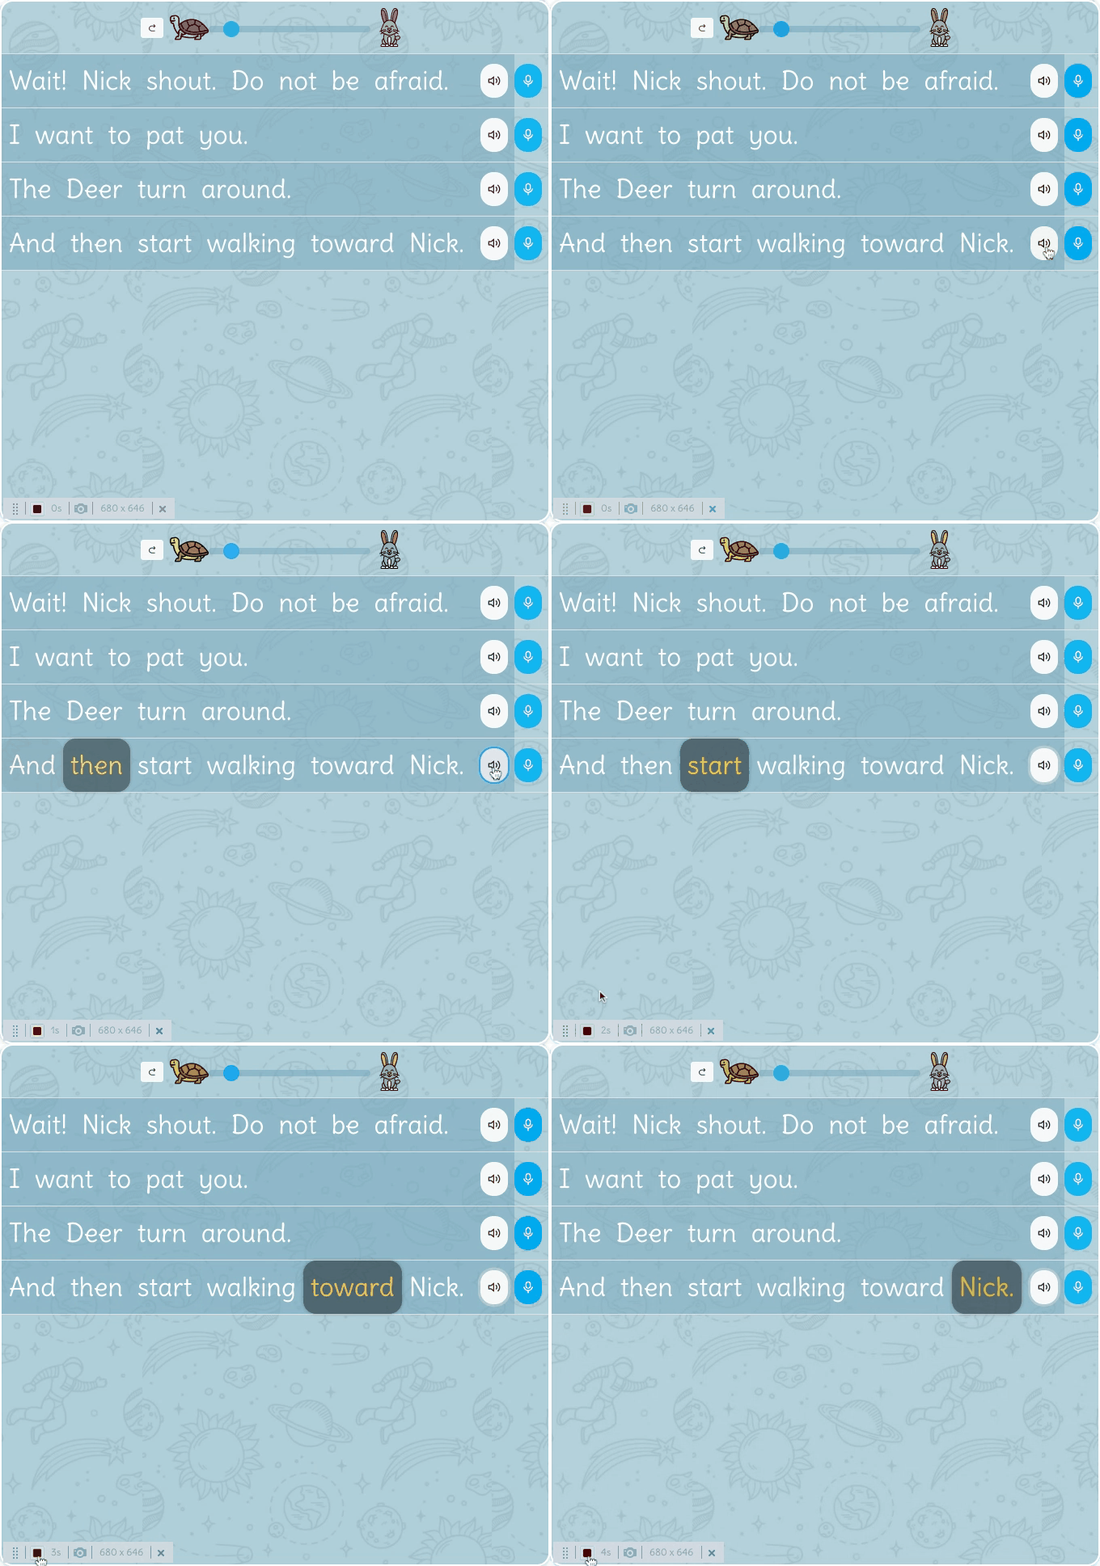
This component is responsible for displaying a text and while allowing interactivity by saying a sentence or a specific word. As far as it goes for user experience, I decided to add word highlighting while it is spoken (much like karaoke).

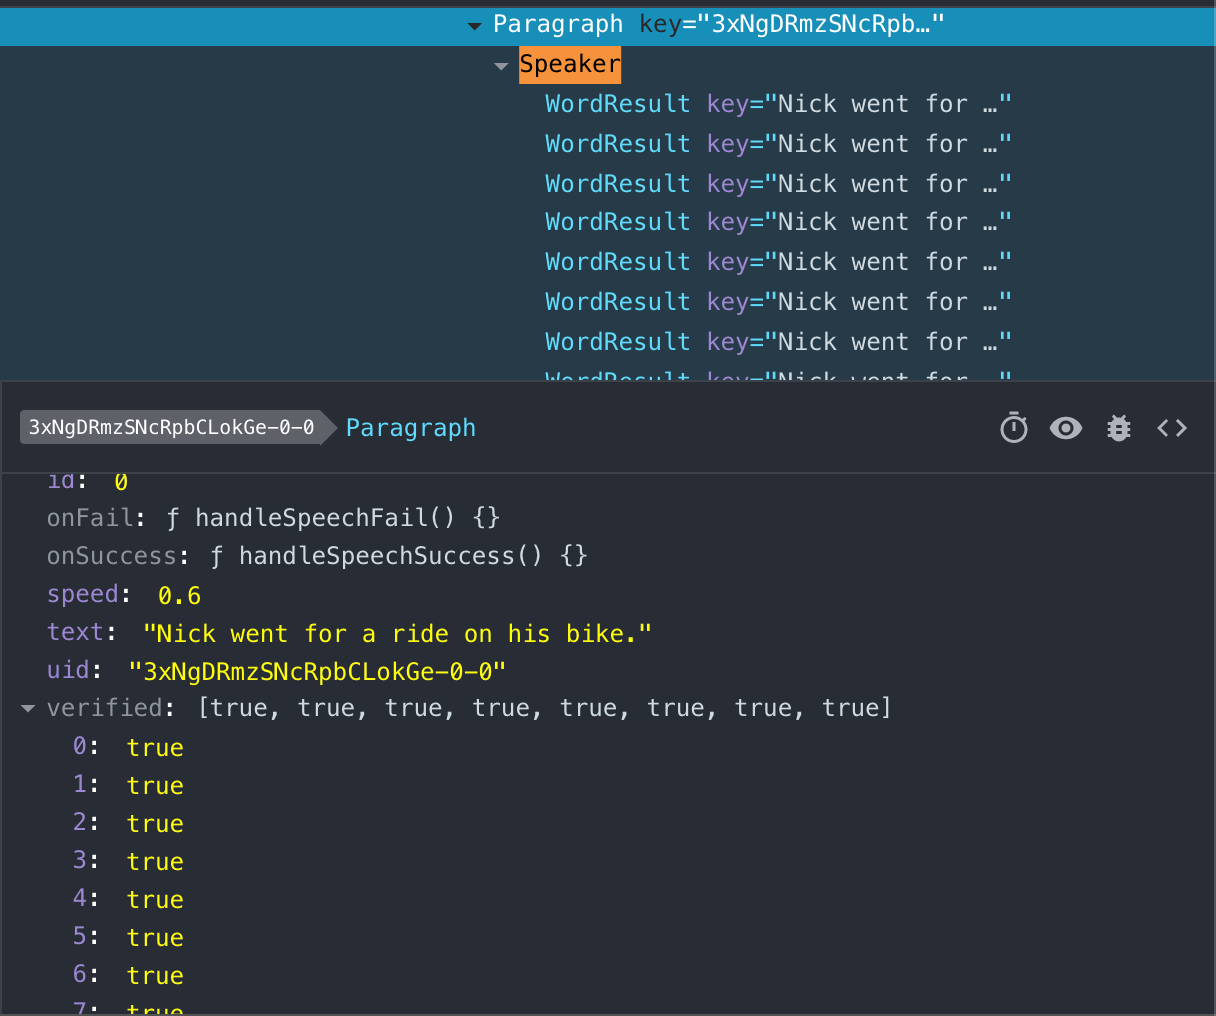
The Speaker() component expects to receive few props in order to allow the above interactivity.
Here’s A quick summary of all props:
function Speaker({
  text,
  onSpeakComplete,
  disable,
  verified = [],
  highlight = [],
  speed,
}: SpeakerProps) {
  // code
}
Next (the function’s body), the state for highlighting a spoken word is defined along with a function handler to set this word. Note this section - this is what this article is going to enhance and hopefully clarifies in a much better way.
const [highlightSpoken, setHighlightSpoken] = useState<{
  word: string
  index: number
}>()

const handleOnSpeak = useCallback(() => {
  speak({
    phrase: text,
    speed,
    onEndCallback: () => {
      onSpeakComplete && onSpeakComplete(text)
      setHighlightSpoken(null)
    },
    onSpeaking: setHighlightSpoken,
    sanitize: false,
  })
}, [text, onSpeakComplete, setHighlightSpoken, speed])

const handleOnSelectWord = (phrase: string) => {
  speak({ phrase, speed, onEndCallback: noop })
}This code now derives values from the props to prepare display properties that are passed into the presentation components within the return render value.
const words = verified.length ? verified : createVerifiedWords(text, highlight)
const rtlStyle = resolveLanguage(text).style
const justify = rtlStyle.length ? "end" : "between"
The returned render value is:
function Speaker(props) {
  // all the above code commented
  return (
    <Column md="row" alignItems="center" justify={justify} className="speaker">
      <Row
        wrap={true}
        className={`speaker-phrase bg-transparent m-0 ${rtlStyle}`}
      >
        {words.map((result, index) => (
          <WordResult
            key={`${text}-${index}`}
            result={result}
            disable={disable}
            highlight={highlightSpoken && highlightSpoken.index === index}
            onSelectWord={handleOnSelectWord}
          />
        ))}
      </Row>
      <ButtonIcon
        data-testid="speaker"
        icon="volume-up"
        type="light"
        size="4"
        styles="mx-md-2"
        disabled={disable}
        onClick={handleOnSpeak}
      />
    </Column>
  )
}Although this component is not that big, it can be organized better and can be cleaner.
The Speaker’s Behavior & Functionality code section can be reused and consolidated into its own self operable unit. Notice how the “speak()” function is used twice in 2 different contexts - There might be a potential to DRY it out and rethink how to approach it.
We can create a new reusable Hook - useSpeaker(). All we need from this hook is to receive the currently spoken word (a state) and the speak() functionality.
Only then, we can abstract away the entire behavior code and use this handy little snippet in the Speaker’s code:
const { spokenWord, say } = useSpeaker({
  text,
  speed,
  onEnd: onSpeakComplete,
})
The useSpeaker() includes the code that was extracted from the Speaker component.
import React from 'react';
import { speak } from '../utils/speaker.util';

type TextWord = {
  word: string;
  index: number;
};
export default function useSpeaker({ text, speed, onEnd }) {
  const [spokenWord, setSpokenWord] = React.useState<TextWord>();

  const say = React.useCallback(() => {
    speak({
      phrase: text,
      speed,
      onEndCallback: () => {
        onEnd && onEnd(text);
        setSpokenWord(null);
      },
      onSpeaking: setSpokenWord
      sanitize: false,
    });
  }, [text, speed, onEnd]);
  return { spokenWord, say };
}
Now, there were two “speak()” function calls. The new useSpeaker() hook can now be reused internally inside the WordResult component.
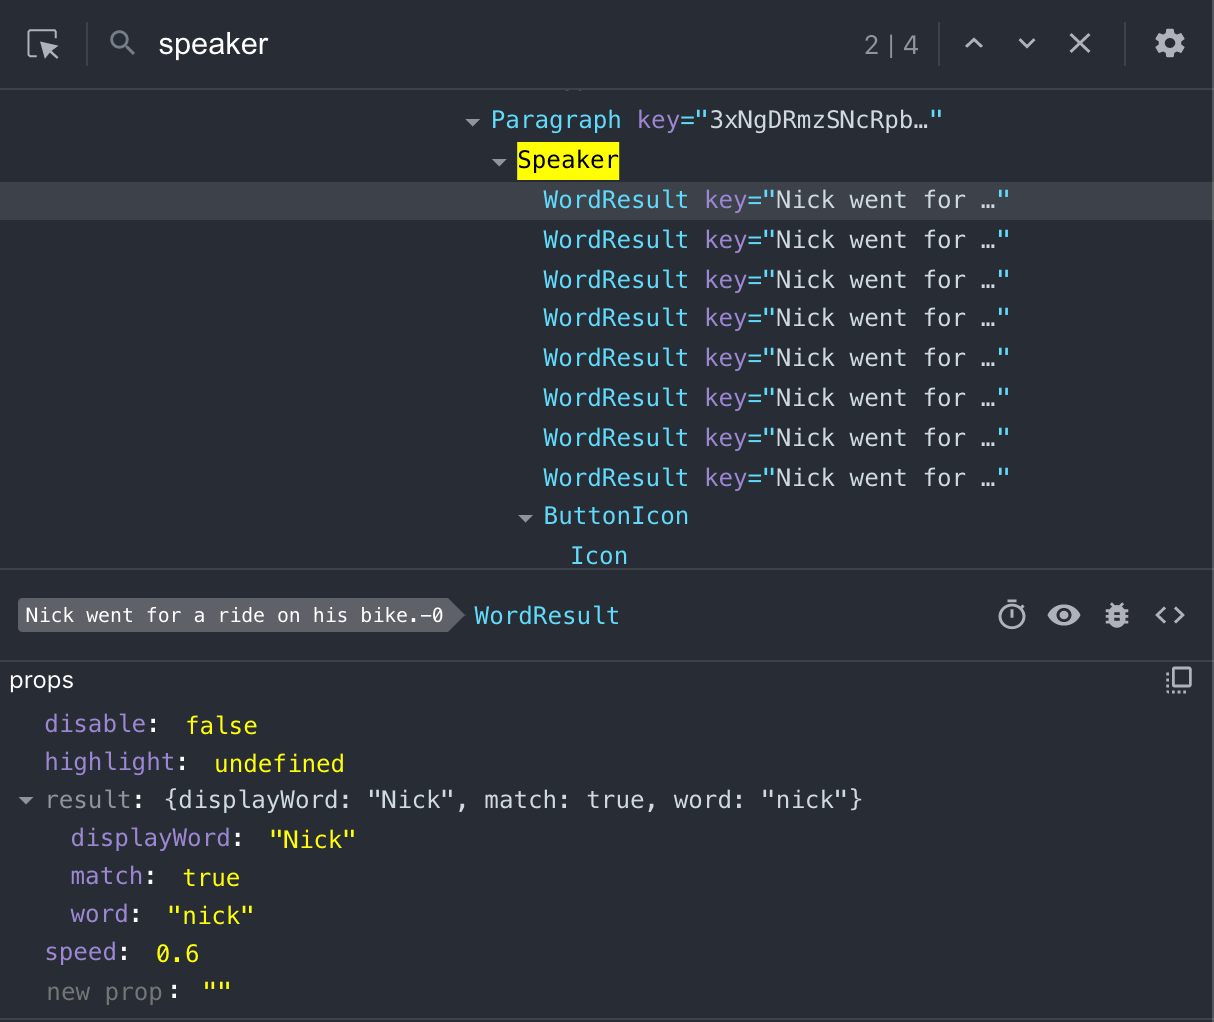
All we need to change in WordResult is - instead of passing a function handler for onSelectWord(), the speed property will be passed. Using speed, result (an object that includes the “word”), the same functionality of useSpeaker is reused inside WordResult.
{
  words.map((result, index) => (
    <WordResult
      key={`${text}-${index}`}
      result={result}
      disable={disable}
      highlight={spokenWord && spokenWord.index === index}
      speed={speed}
    />
  ))
}
With the above custom hook - useSpeaker() - the code refactor have trimmed down 20 lines of code to a reusable 5 lines of code. On top of that, the code now has much more semantical meaning with a very precise and clear goal.
Besides from tailoring technical “speaking” to the code, the useSpeaker() code refactor reflects its meaning - by just coming up with the correct terms, the code may speak in one’s mind.
I believe it’s important to keep iterating on good functional code not too long after it’s written. While reading the code and trying to make sense of it, questions may pop up:
To these questions, I usually add questions with goals that may lead to better results:
Please check out my real-time reading feedback app ReadM - a Free PWA reading app that builds confidence in reading and speaking English (more languages are in progress) with real time feedback using speech recognition.
Expect more useful articles sharing code from the ReadM development experience.